Då eg sydde pysjamasen i forrige innlegg, tok eg nokre bilete av korleis eg vrengesydde (vrangsy? vrengesy? vrengsy?…) ermeribbane. Kanskje det er fleire enn meg som synest det er vanskeleg å halde tunga beint i munnen når ein skal sy plagg med fôr, og som har lyst til å sjå nokre bilete. 
I took som pictures when sewing the lined pyjamas in the formes post. I think it’s difficult to sew lined garments, and thought maybe somebody else wanted to see some pictures of the process ;-)
Utgangspunktet / At start:
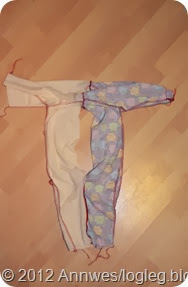 | 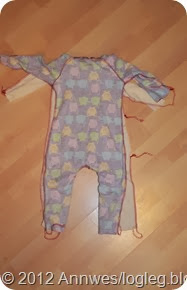 | 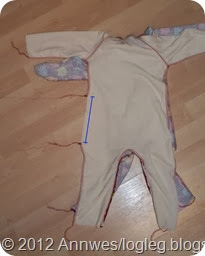 |
Pysjen utgjerast av to dressar (ytterstoff og fôr) som heng saman i halsen og langs beina. Vendeopning i sida på fôret.
The pyjamas now consists of two dresses (shell and lining) joined at neckline and along the legs.
Hovudpoeng nr 1:
First clue:
Legg plagget slik det skal vere når det er ferdig, dvs med rettsida av ytterstoffet vendande ut osv.
Place the garment like it is supposed to be when finished. I.e. right side of the shell/outer fabric facing outwards, and so on.
Eg trur det er lettare å sjå neste poeng utan å take med ribben, som om du skulle sydd ei fôra vaksenjakke i vevd stoff:
I think the next clue is more easy to show witout the rib, like you would sew a women’s coat in woven fabrics:
Før handa inn gjennom vendeopning (her har eg fyrst gått inn i plagget via halsopninga og deretter funne vendeopninga), vidare ut til enden av ermet, sjå bilete.
Move your hand into the opening in the lining, and further to the end of the sleeve (picture)
Hovudpoeng nr. 2 / clue no. 2:
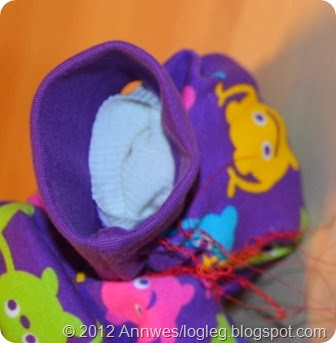
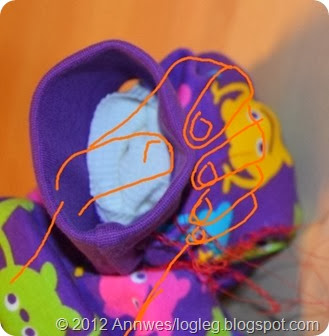
Tenk framleis på korleis plagget skal vere ferdig; jo, då skal stoffenden på ytterstoffet ligge bretta mot vranga, det samme skal fôrstoffet. Og naturlegvis ein saum som held dei to saman. Så vi brettar noko liknande:
Still, think about how it is supposed to look like finished; the fabric edges will be folded towards the wrong side, and with a seam to fix, them of course. So we fold something like it:
Her med ei hand teikna inn: Here with a hand drawn in:
Hovudpoeng nr 3 / Clue no. 3
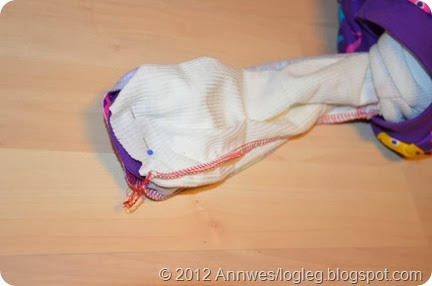
Og nå, hald fast! Dra stoffet ut gjennom vendeopninga, ikkje slepp, før…….
And now: Hold tight! Pull the fabric out of the opening in the lining, and don’t let go until…..
…..du har festa ei knappenål!
…..you have placed a pin!
Nå kan du sy!
Off you go sewing!
Med ribb:
With rib:
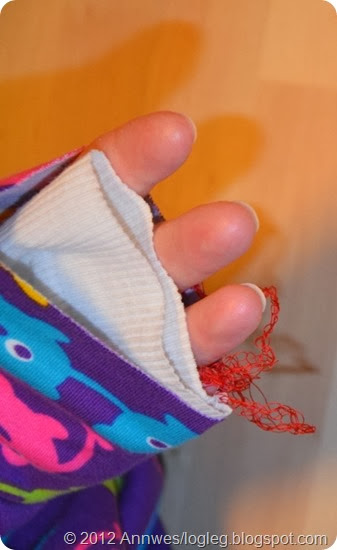
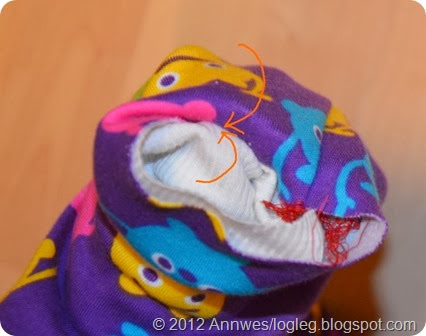
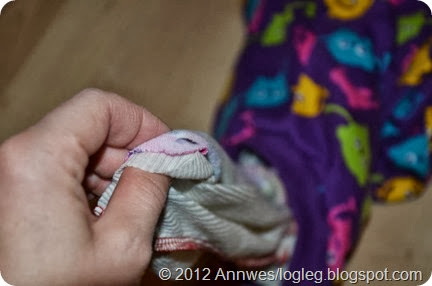
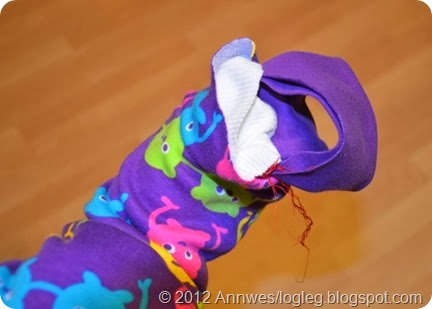
Samme som sist; gjennom vendeopning, brett til, men nå skal ribben mellom ytterstoff og fôr.
Same procedure; going through the opening in the lining, fold fabric edges, but this time there will be rib between shell and lining.
Ikkje den beste teikninga, men… Not exactly the best drawing…
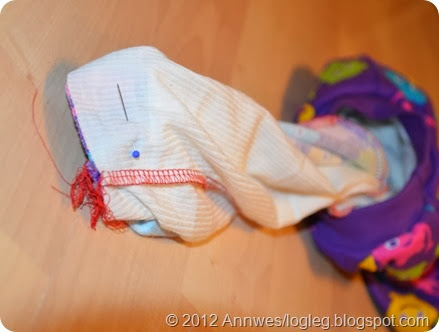
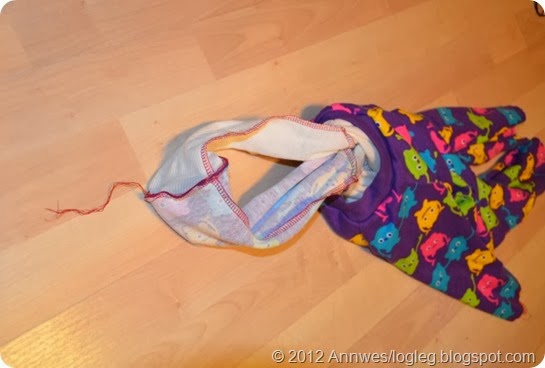
Dra ut, knappenål! Pull and pin!
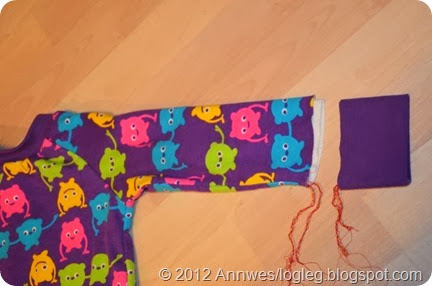
Sydd / when stitched:
Resten er planke-køyring, det klarer du fint ;-)
From here it is piece of cake, you’ll do great ;-)



Ingen kommentarer:
Legg inn en kommentar
-Kjempekoseleg om du har lyst til å seie hei!
-You're welcome to place comments in english!
-Svenska kommentarer gjör mig glad, danske kommentarer er sjov!
-Ich verstähe auch ein bischen deutsch, doch ist englisch mehr sicher, you're welcome anyway!